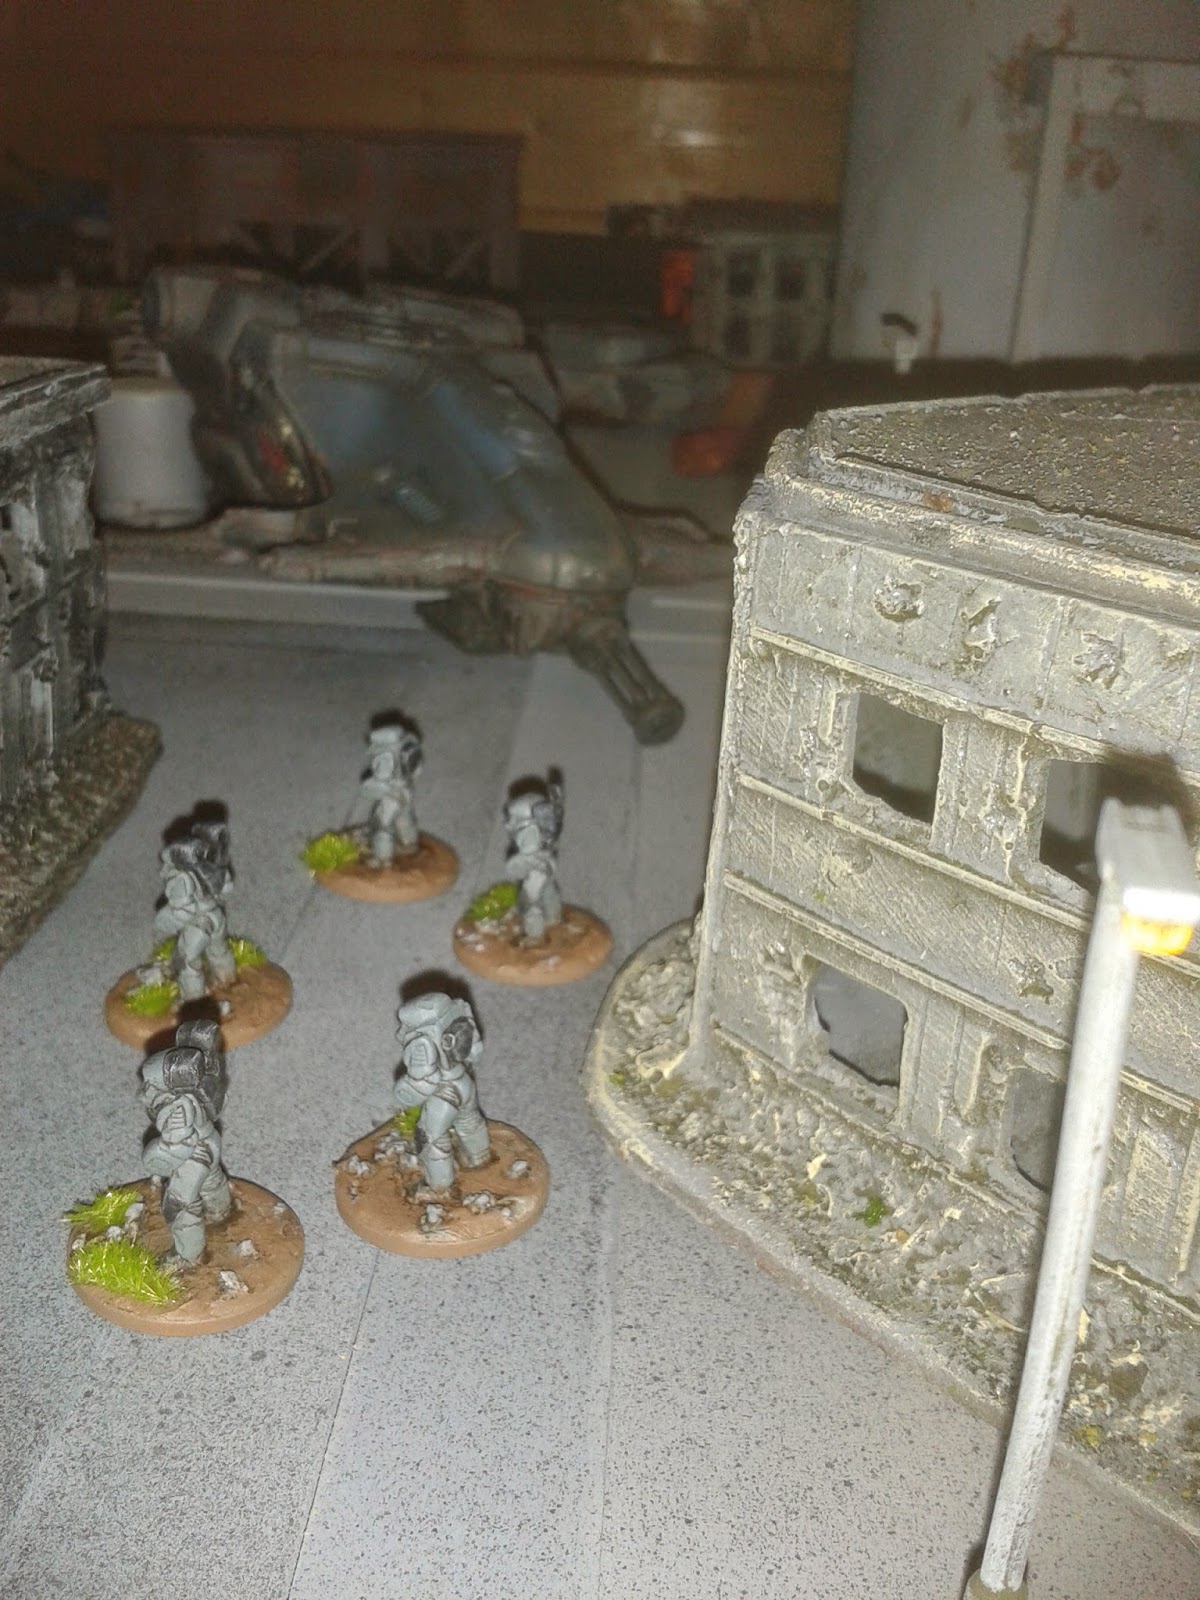
As promised, here is a review of Clash on the Fringe by Nordic Weasel Games. This follows a few read throughs of the pdf and a small game (report HERE).
The product
Clash on the Fringe is a scale agnostic sci fi wargame by Ivan at Nordic Weasel Games. Ivan doesn't like the term “wargame” with regard to CotF as it is designed to be suitable for small clashes between gangs, law enforcers, space pirates and the like as well as the usual military factions common to the hobby.
The writer has stated that the game is an unashamed homage to Rogue Trader and other games of that era but with a modern take on the mechanics.
So, how does that translate into a game?:
The rules
Ivan has gone for simplicity with a heavy dose of common sense. A recurring theme is mitigating the opportunity to metagame. You’ll see what I mean as I go on.
Activations
The turn sequence is based on opposed dice rolls between the players with the winner deciding which of their (remaining) units they would like to activate. Once that unit has done its piece, another opposed roll is made.
There is extra depth to the game here as the roll is modified by the quality of unactivated units: depending on the composition of his force, the player will have tactical decisions about whether or not to activate better troops early on or hold them back and benefit from their initiative. As a result, activation ranges from completely alternating to runs of the same force.
There is a chance that some units will be unable to activate which adds a nice “fog of war” touch as well as suggesting some narrative to be added to the fight. Notably, some units will fail to activate because one player has many unactivated units left when the other player has finished for the turn. This nicely avoids metagaming of the “multiple small unit” style.
Orders
An activated unit is given an order from a selection. The order type will determine whether the unit can shoot, rush into combat, use or receive reactive fire and so on. In our game, we found that sometimes a unit was in a position where the order didn’t matter too much (it wasn't able to shoot or be shot at) so, we just chose one of the orders that has a full movement element to it.
Movement
The amount of movement varies based on a several factors such as the species and “class” of the figure and the type of armour it is wearing. There are a couple of other factors such as cinematic bonuses for heroes and being slowed by heavy weapons and the like. This really does take me back to the days of 1st and 2nd ed 40k, Necromunda and similar games. Frankly, if something is supposed to be fast, then it should have a higher movement score!
There is no unit coherency although it benefits troops to be near to a leader (as he can help them remove pinning or use extra shots etc.). This means that individuals can take cover when under fire instead of being draped artificially across an open kill zone. It’s also liberating as a player as you can imagine a fire team coordinating their advance around a building or keeping apart to avoid fire. I guess there might be issues with similar looking units getting muddled up but I think the pros outweigh the cons.
Combat
Shooting is a simple “roll equal to or less than your stat” on a d10 while close combat uses opposed d10 rolls with the winner scoring a ”hit”. As you can imagine, these rolls are modified by cover, targeting systems and all the usual fayre. Although I quite like the bell curve probability associated with 2-dice-roll systems these days, there is an elegance to using “flat” d10s...they are easy to understand. If you need 5 or less to hit, you have a 50 per cent chance of hitting. The modifiers are then just as easy to understand and even “hacking” the ruleset is intuitive if you want to introduce your own bonuses and what not.
More common sense abounds here as you cannot shoot through your own figures. There is no point in taking a daft unit of 30 men to lever yourself 30 attempts to hit. They will just shoot themselves in the back of the head. Such a unit is also realistically inefficient since Ivan has given automatic weapons an area template...attacking a large, bunched up unit would be a turkey shoot. This often plays plays well with the lack of unit coherency mentioned above. If a unit gets trapped in a bottle neck they are easy to take out...didn't Sun Tzu write something about that? Regardless, it’s nice to see in this game.
With a hit scored, you might wound the target (depending on the weapon strength and the armour/durability of the target). If not then you’ll probably pin them with a Heads Down marker. In fact you can sometimes force a heads down even when you miss the target. This makes even unlikely shots worthwhile from a suppression point of view.
Morale
There are two distinctive stats that deal with morale, leadership, courage or whatever you want to call it. Discipline covers the ability to come under fire (avoid suppression) as well as determining the distance of your own battlefield awareness (for reaction shots and the like). Morale is how a unit deals with adversity such as taking casualties. Instead of just turning and blindly running, failure of morale adds Stress to a unit, affecting all of its stats as things get more dire. Eventually, the unit might just be removed.
Vehicles
These are handled using various exceptions and enhancements to the core rules. Again, this is standard stuff such as longer movement, grav vehicles flying over obstacles, increased durability. Stats are given for an assortment of vehicles divided by movement type and size. Notably absent for a Rogue Trader-esque game are jet bikes. Even He-Man used jetbikes back in the 80’s and they should be here!
When vehicles sustain damage, a table is used to determine what happens. Variuos type of damage might occur from losing weapon systems right up to exploding completely.
The Setting
Once you make it make it past the rules and have realised they are simple and sensible, you are rewarded by a huge section detailing different races and “classes”. These fit into Nordic Weasel’s “Unity” setting which has been used in his other science fiction games (though they are familiar tropes so you can represent all kinds of existing settings or make up your own).
The setting premise isn't original but isn't supposed to be: Unity is a galaxy spanning empire of humans and sanctioned aliens. Other aliens have their own agendas and may variously be allies or enemies. This allows a gamut of settings to represented from rebellion on core worlds to the excitement and randomness of exploring the eponymous Fringe worlds. It feels like the Imperium of Rogue Trader is born again but without all the skulls and grim dark.
19 races or human variants are described. Ivan has provided special rules for some but none of these are so outlandish that they mess with the game engine too much. There are also 11 “classes” which many of the races can access. These have suggested stats for the likes of law enforcers, gangs and elite assassins. In many cases, the racial differences are simply modifiers applied to these classes...a veritable cosmos of characters.
There is much more to this section than just racial rules. Here you will find ideas about how the different tropes might be represented, suggestions for what their miniatures might look like and alliance/force organisation proposals. This has been really well thought out and is a valuable asset to the game.
Point System
I’ll admit that I haven’t looked into this part too deeply. Ivan includes more than one disclaimer about points systems (in any game) and how well balanced they can actually be. That said, it looks like a well considered system and will at the very least act as a guide for straight up shoot outs or designing scenarios. As mentioned above, the engine is so easy to understand that astute players should be able to judge where forces seem desperately outmatched.
The bulk of the points system is aimed at the listed classes and races but Ivan’s formula is included so you can build your own.
Scenarios
There’s plenty of fun stuff here. All the basics such as table layouts are included but there are some (big) random tables to prompt scenario ideas. Who is fighting, what for, their environment and some twists to include (wandering monsters, dangerous weather and the like). This is fantastic and fires the imagination. If you are a Rogue Trader fan, think of those scenario tables (Abdul Goldberg and all that) back in the day.
CotF comes with suggestions for different gravity and other physical properties. I think this is missing from most sci fi games. All these worlds to play on but they always end up feeling like Earth. Ivan’s got this covered, albeit briefly. As ever, the system is easy enough to tweak if you want to explore this further.
Other Stuff
- There’s a fairly extensive section for solo players (not something I do but it looks comprehensive).
- Rules for “monsters” and critters on the battlefield.
- Campaign ideas are covered.
- Throughout, there are some flavourful pieces of fiction and fun thematic quotes. I was worried these might be pretentious but they are very well done.
What I didn't like
I guess by now it's obvious that this is a very positive review. It’s hard to find fault with what Nordic Weasel has produced (especially for the price!). So, in the interest of fairness, here’s what I didn't like:
The layout
It’s functional and well structured but it just doesn't look that appealing. I appreciate that this is an indie game but similar products have put more effort in here (such as Victory Decision or Gruntz). I know it shouldn't matter and, once a game is under way, who cares? I do have friends, however, who would be put off buying because of this.
Images
The same issue really. There is no artwork but there are a few photos of miniatures. These are well painted and look good but they are just pictures of miniatures with none of the game’s flavour being dynamically represented. Where there is an attempt to do this, 6mm kit has been used. With sincerely no offence meant to Angel Barracks, at that scale I can’t really tell what is going on. Don’t get me wrong, they are attractive 6mm pieces and scenery but the photos just don’t evoke the spirit of the game. Maybe I’m nitpicking.
Reactive Fire
One of the mechanics allows reactive fire which is great but, in all cases, it only allows a 1 in 10 chance of hitting. I think this is fair for genuine unaimed shooting but seems unreasonable to apply it when someone is effectively on overwatch (a well trained troop on guard should be better than an untrained troop on guard). It’s easy to house rule and, to be fair to Ivan (who always responds to customers), he said he didn't want that level of defensive strategy to be core to this game. I guess it jars with me because other situations are so well represented in the game.
Summary
For $15 (or a tenner in real money), there is a huge amount in this game. If you are looking that old school Rogue Trader feel or just want to put some of your unused sci fi figures down in anger but in more than a small skirmish situation, this is the ideal game.
The system is simple yet deep and often “realistic”. I've got all kinds of ideas flying round my head inspired by this game. My brace of Daleks are now looking for someone to exterminate; The Jury have some wrongs to right (see my earlier post and Adam’s write up below for AARs) and I'm hoping my friend Ian will get his Space Wolves on the table and play them how he wants to (he hates 40k!).
Great work Nordic Weasel Games! I now remember how I got into this hobby in the first place.
After Action Report
Adam's write up of our game is below (my original AAR is HERE). I think he has an eidetic memory as he covered much more than my demented, half-remembered ramblings.
Introduction
We had a first run through of the rule set Clash on the Fringe (CotF). We played in 28mm with roughly twenty figures a side and no vehicles.
The scenario
CotF is intended to be scenario driven (although it can be played head to head with points values). As a group we quite like scenarios any way so this play style was the natural choice. To get the full CotF experience, we decided to use the random tables to roll for force types, terrain and objective. We rolled an anti–robot cult fighting hired guns amidst urban decay over a scientist. We fleshed this out, deciding that the scientist was working on cutting edge AI, which infringed the law. A local paramilitary vigilante force known as the Jury (Lea’s force) were out to enforce this law terminally. Anticipating that there might be trouble, the Scientist had called in Nakamura Security Incorporated (Adam’s force) to protect him. The Jury had The Foreman and four squads of regular soldiers with a Gatling gun and a missile launcher. Nakamura had a Daimyo, two squads of regular soldiers, one of hardened veterans and one cannon toting Mech.
The scientist was holed up somewhere in a complex of four lab buildings in a rundown sector of town and probably cowering under cover. Both sides had to search the buildings; searching required a training role. The Jury were looking to kill him and Nakamura to escort him to safety. The Jury came in from the west and Nakamura from the east.
Jury set up
The Jury lined up two squads to cover the comparatively open ground of the south aiming to head forward and then sweep into the south and east buildings. The central squad and the Foreman were advancing on the west (and therefore) closest building. The final northerly squad was planning to go wide on the flank to cover them.
Nakamura set up
Nakamura set their mech up to suppress the southern killing field and be a relatively static lynch pin for that wing of the force. The veteran squad were on the centre aiming for their closest building. The two regular squads went north aiming to outflank the jury.
How it went
There were some early long-range exchanges. Very early. CotF has unlimited maximum ranges (at an accuracy penalty) and there was an unexpected fire- corridor from the open south west to the door of the east building. Unexpected at least to the Nakamura veteran squad who lost two men (including the HMG). The remaining three were pinned down hard (five heads down tokens between them).
The Jury fired their missile launcher at the mech but it pinged off his armour. He responded by striking out with his Gauss cannon at his attacker, punching a hole clean through him (no survival roll was allowed. Well it is an anti tank weapon). With the main anti-armour threat removed the mech could breathe a sigh of relief. Not completely though, as a lucky assault rifle hit could still take him down. Unsurprisingly therefore the mech received a lot of small arms fire from one and a half of the southern Jury squads.
There then followed a flurry of inactivity with two squads on each side failing to activate (basically a tied initiative roll means both sides have to pick a unit to remain inactive for a turn). The Nakamura Daimyo had the tough choice of whether to effectively freeze active units or render the pinned and hurt veteran unit immobile in the killing corridor. This would have effectively written them off. Instead he elected to regroup them and pull them back. Some luck on their side saw them regain composure and drop back into the shelter of an easterly burnt out car. In hind sight this was probably a key moment with Nakamura centre still holding albeit weakened.
Jury forces advanced purposefully in the centre and to the north. They got three men into the western building and after a very thorough search established that the scientist was hiding elsewhere. Behind the searchers, the foreman was quite cautious and held back. He had given his attention to activating other units at the cost of his own movement.
There was something of a straight road across the northern face of the complex. Jury and Nakamura units exchanged fire down this straight line. The Nakamura regulars filed in to the road in a line and enjoyed some early successes taking three Jurors down. Unfortunately to maximise shots on target they had bunched up into a small area. They paid for this with return fire shredding their unit (Most weapons including assault files have area effects in CotF which I felt really gave the game a modern/sci-fi feel). Ultimately, one Nakamuran was left pinned in the road and one was forced out wide in to a forecourt area. The unit leader who had no ranged weapons (a lovely mono-katana but nothing ranged) took cover behind abandoned agricultural machinery and waited for the flanking reinforcements.
The southern Jurors began to swing round in to the centre to exploit the hole in the Nakamuran line left by the retreating Veteran squad.
However the veterans were now (somewhat) refreshed. Emboldened but still down to three men. They strode out from their cover firing double shots before dropping back in to the car wreckage. (in CotF you can opt to move then fire or fire then move – so you can step out of cover and fire at the end of your turn and then fire and drop back into cover - ideally early in the next turn. This blunted the southern sweep as did the threat of the cannon-toting mech on the south Eastern corner. The veteran leader did pay for their renewed courage getting killed whilst out in the open and one of his fellows bought it amongst the wreckage of the car. The shots came I believe from the Jury’s Gatling gun. However, the Jury advance was not fully blunted as Jurors did enter and search the southern building. However, the scientist was not hiding there.
Whilst all this was going on the Daimyo had hoped to swing round on the northern flank supported by the most northerly Nakamura squad but a number of failed to activate rolls had left this squad lagging behind (also unattached heroes are quite quick in CotF). Undeterred the Daimyo advanced on his own behind cover and ended up charging into the flank of the northern most Jury squad (now down to two men) He won the only melee of the game but failed to kill and drove the juror into the open road.
The northern most Nakamura squad (the one who had not kept up with the Daimyo) moved into fairly dominant position behind some upright vats. From here they could cover the forecourt in front of the northern building (which was still unsearched) and even fire into the path down towards the unsearched eastern building.
The End
Due to the late hour, we stopped the game there and went to panel decision. Both teams had effectively lost two squads, (the Jury wings and the Nakamuran centre). The Nakamura force had dominant position watching the access routes to the two unsearched buildings and the remaining veteran was crouching next to one of these ( the eastern one). Any southern advance by the Jury was also complicated by the presence of the Nakamuran Mech. So the Nakamuran forces controlled access to the two buildings where the scientist could possibly be.
Outcome (by Panel Decision)
A win for Nakamura security Incorporated.


.jpg)